Auto Fill - Drag Fill"
From Documentation
m (→ZUML) |
m |
||
| Line 72: | Line 72: | ||
===Composer=== | ===Composer=== | ||
====Source Cell==== | ====Source Cell==== | ||
| − | + | Use onCellFocused event to get the current cell, use onCellSelection event to get current selection range | |
<source lang="java" high="4"> | <source lang="java" high="4"> | ||
Spreadsheet spreadsheet; | Spreadsheet spreadsheet; | ||
Cell currentCell; | Cell currentCell; | ||
| + | Rect selection; | ||
public void onCellFocused$spreadsheet(CellEvent event) { | public void onCellFocused$spreadsheet(CellEvent event) { | ||
currentCell = Utils.getCell(event.getSheet(), event.getRow(), event.getColumn()); | currentCell = Utils.getCell(event.getSheet(), event.getRow(), event.getColumn()); | ||
| + | } | ||
| + | public void onCellSelection$spreadsheet() { | ||
| + | selection = spreadsheet.getSelection(); | ||
} | } | ||
</source> | </source> | ||
Revision as of 04:49, 31 May 2011
Purpose
ZK Spreadsheet support drag fill, auto fill cell's value.
Drag Fill
The drag fill is base on Range.autofill(Range, Integer)
Copy
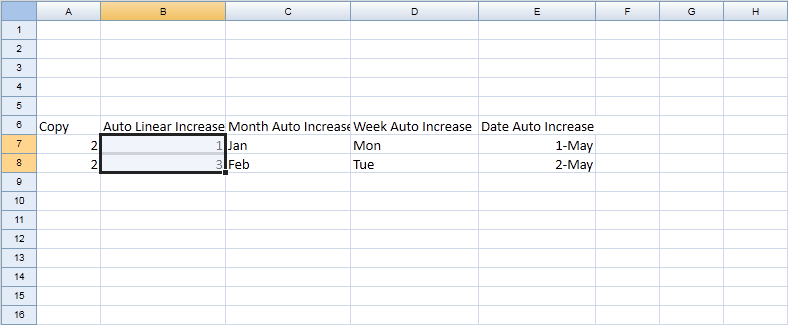
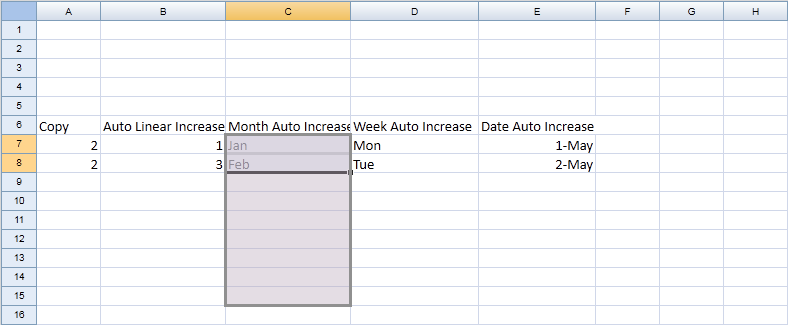
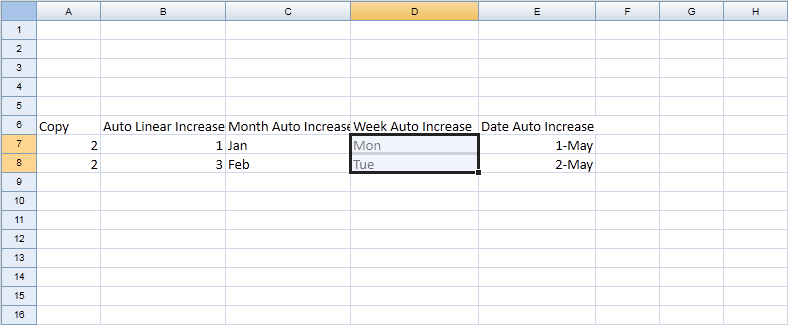
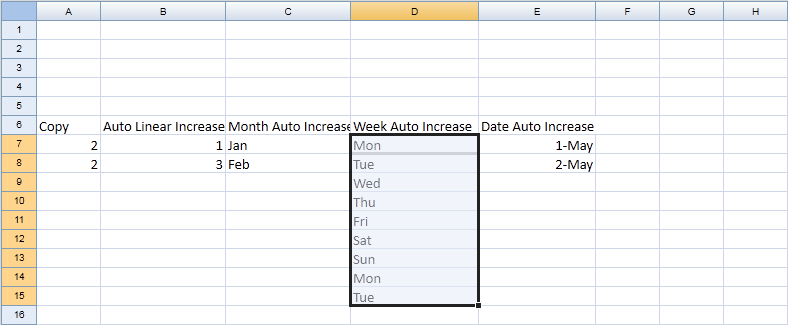
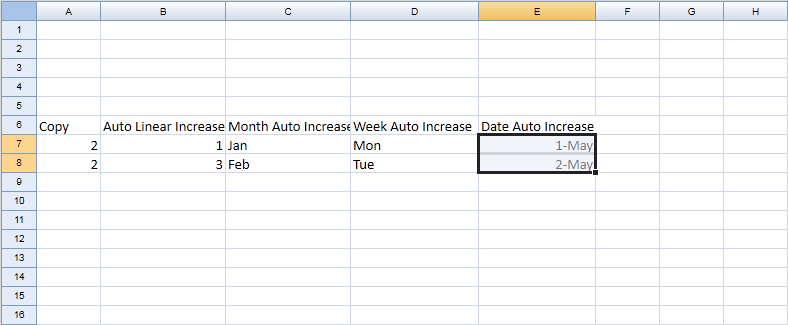
1. Select a range
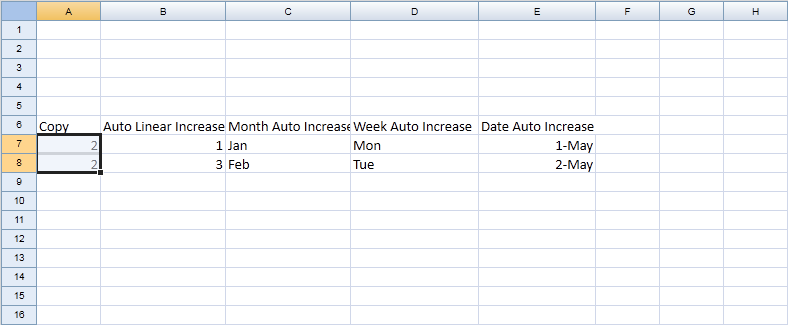
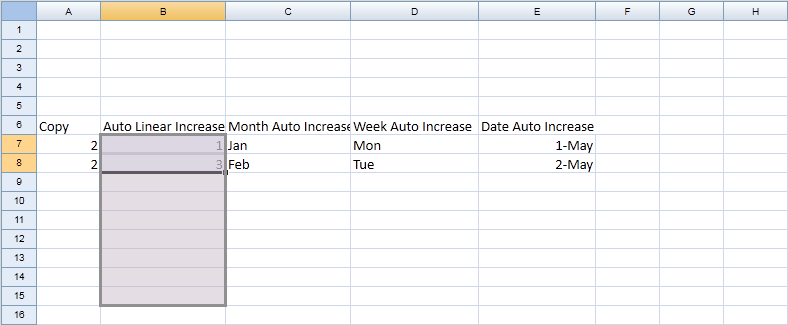
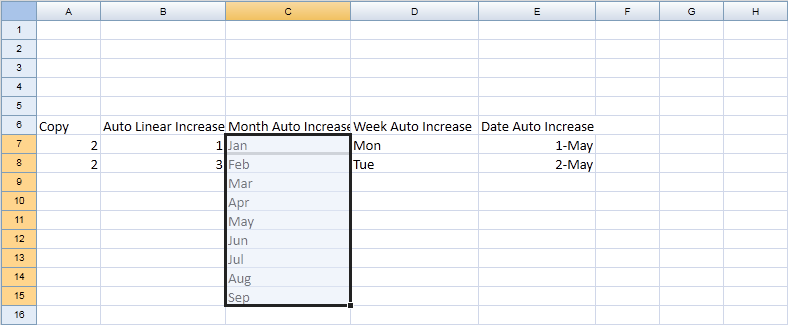
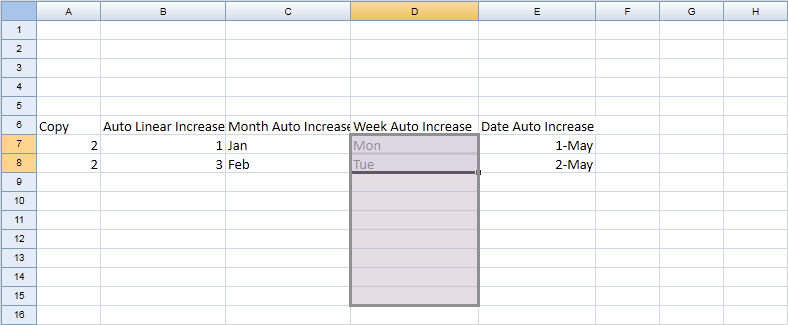
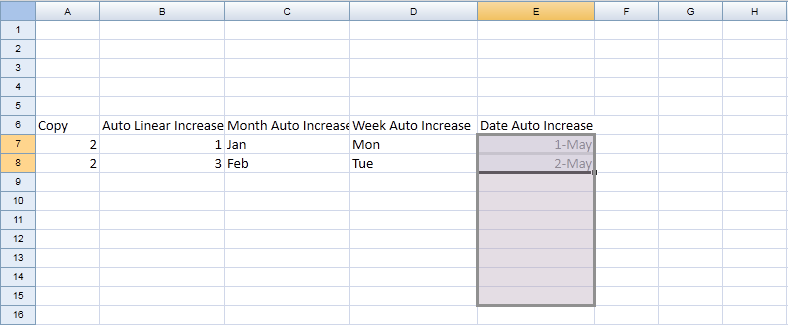
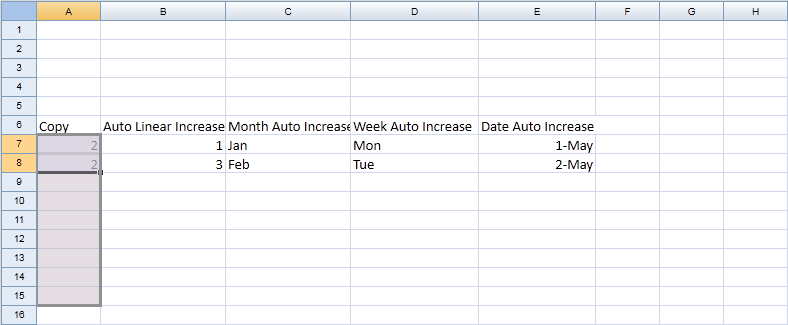
2. Mouse over right bottom border, mouse cursor will change to cross, drag to expend selection range
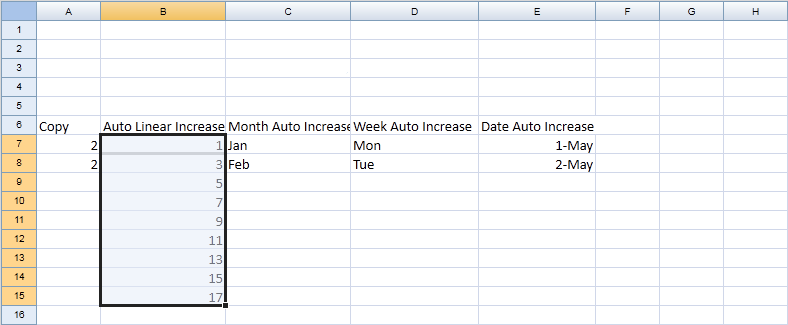
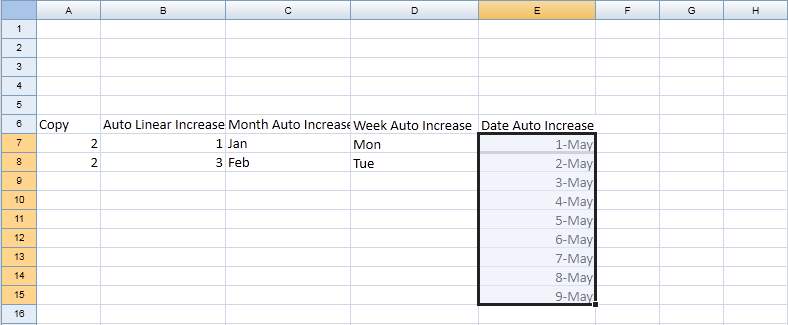
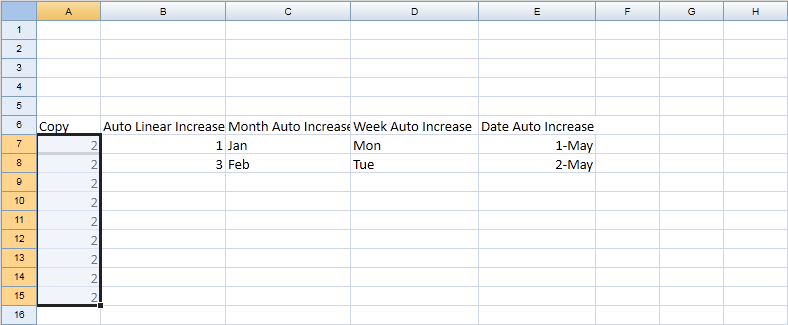
3. Release mouse to perform auto fill
Auto Linear Increase
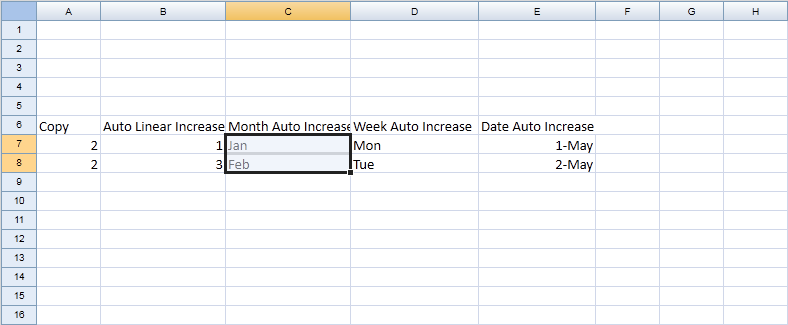
Month Auto Increase
Week Auto Increase
Date Auto Increase
ZUML
<zk>
<div height="100%" width="100%" apply="org.zkoss.zssessentials.config.AutofillComposer">
	<div height="3px"></div>
	<hlayout>
		<vlayout>
			<div>
				1. Fill cells <intbox id="fillCells" value="2"/>
				<combobox id="fillOrientation" >
					<comboitem label="Fill Down" value="down"/>
					<comboitem label="Fill Right" value="right"/>
					<comboitem label="Fill Left" value="left"/>
					<comboitem label="Fill Up" value="up"/>
				</combobox>
				<button id="fill" label="Fill" mold="trendy"></button>
			</div>
		</vlayout>
		<div>
			2. AutoFill
			<intbox id="autoFillCells" value="6"/>
			<combobox id="autofillType">
				<comboitem label="Default" value="default"/>
				<comboitem label="Copy" value="copy"/>
			</combobox>
			<button id="autofill" label="Auto fill" mold="trendy"></button>
		</div>
	</hlayout>
	<spreadsheet id="spreadsheet" src="/WEB-INF/excel/config/autofill.xlsx"
			maxrows="200"
			maxcolumns="40"
			width="100%"
			height="450px"></spreadsheet>
</div>
</zk>
Composer
Source Cell
Use onCellFocused event to get the current cell, use onCellSelection event to get current selection range
Spreadsheet spreadsheet;
Cell currentCell;
Rect selection;
public void onCellFocused$spreadsheet(CellEvent event) {
	currentCell = Utils.getCell(event.getSheet(), event.getRow(), event.getColumn());
}
public void onCellSelection$spreadsheet() {
	selection = spreadsheet.getSelection();
}
Fill Cell
Fill Down
Intbox rows;
Intbox columns;
Button fillDown;
public void onClick$fillDown() {
	Integer rowNum = rows.getValue();
	if (currentCell == null || rowNum == null)
		return;

	Worksheet sheet = spreadsheet.getSelectedSheet();
	int top = currentCell.getRowIndex();
	int left = currentCell.getColumnIndex();
	Range downRange = Ranges.range(sheet, top, left, top + rowNum, left);
	downRange.fillDown();
}
Fill Right
Button fillRight;
public void onClick$fillRight() {
	Integer colNum = columns.getValue();
	if (currentCell == null || colNum == null)
		return;

	Worksheet sheet = spreadsheet.getSelectedSheet();
	int top = currentCell.getRowIndex();
	int left = currentCell.getColumnIndex();
	Range rightRange = Ranges.range(sheet, top, left, top, left + colNum);
	rightRange.fillRight();
}
Fill Left
Button fillLeft;
public void onClick$fillLeft() {
	Integer colNum = columns.getValue();
	if (currentCell == null || colNum == null)
		return;

	Worksheet sheet = spreadsheet.getSelectedSheet();
	int top = currentCell.getRowIndex();
	int left = currentCell.getColumnIndex();
	Range leftRange = Ranges.range(sheet, top, left - colNum, top, left);
	leftRange.fillLeft();
}
Fill Up
Button fillUp;
public void onClick$fillUp() {
	Integer rowNum = rows.getValue();
	if (currentCell == null || rowNum == null)
		return;

	Worksheet sheet = spreadsheet.getSelectedSheet();
	int top = currentCell.getRowIndex();
	int left = currentCell.getColumnIndex();
	Range upRange = Ranges.range(sheet, top - rowNum, left, top, left);
	upRange.fillUp();
}
Auto fill, the auto fill can specify fill type and destination range to fill.
Button utoFill;
public void onClick$autoFill() {
	Integer rowNum = rows.getValue();
	Integer colNum = columns.getValue();
	if (currentCell == null || rowNum == null || colNum == null)
		return;

	Worksheet sheet = spreadsheet.getSelectedSheet();
	int top = currentCell.getRowIndex();
	int left = currentCell.getColumnIndex();
	Range range = Ranges.range(sheet, top, left);
	Range leftRange = Ranges.range(sheet, top, left, top , left + colNum);
	range.autoFill(leftRange, Range.FILL_COPY);

	Range downRange = Ranges.range(sheet, top, left, top + rowNum, left);
	range.autoFill(downRange, Range.FILL_COPY);
	}
View complete source of ZUML autoFill.zul
View complete source of composer AutofillComposer.java
Version History
| Version | Date | Content |
|---|---|---|
All source code listed in this book is at Github.
