WebSphere Portal
From Documentation
Setting up Websphere Portal
- Download Websphere Portal from IBM
- Follow the installation guide here to install
- Browse http://localhost:10039/wps/portal and set up admin account and password
Create ZK portlet project
since 6.0.1
- Create a ZK project by ZK Studio
- Add the following portlet.xml file under /WEB-INF
<?xml version="1.0" encoding="UTF-8"?>
<portlet-app version="2.0"
	xmlns="http://java.sun.com/xml/ns/portlet/portlet-app_2_0.xsd"
	xmlns:xsi="http://www.w3.org/2001/XMLSchema-instance"
	xsi:schemaLocation="http://java.sun.com/xml/ns/portlet/portlet-app_2_0.xsd
                                        http://java.sun.com/xml/ns/portlet/portlet-app_2_0.xsd">
	<portlet>
		<portlet-name>zk</portlet-name>
		<display-name>zk</display-name>
		<portlet-class>org.zkoss.zk.ui.http.DHtmlLayoutPortlet</portlet-class>
		<init-param>
			<name>zk_page</name>
			<value>/index.zul</value> <!-- the main page of portlet -->
		</init-param>
		<expiration-cache>0</expiration-cache>
		<supports>
			<mime-type>text/html</mime-type>
		</supports>
		<portlet-info>
			<title>zk</title>
			<short-title>zk</short-title>
			<keywords>zk</keywords>
		</portlet-info>
		<security-role-ref>
			<role-name>administrator</role-name>
		</security-role-ref>
		<security-role-ref>
			<role-name>guest</role-name>
		</security-role-ref>
		<security-role-ref>
			<role-name>power-user</role-name>
		</security-role-ref>
		<security-role-ref>
			<role-name>user</role-name>
		</security-role-ref>
	</portlet>
</portlet-app>
- Export the project as a war file
Deploy ZK portlet in WebSphere Portal 7
- Browse http://localhost:10039/wps/portal and login with admin account
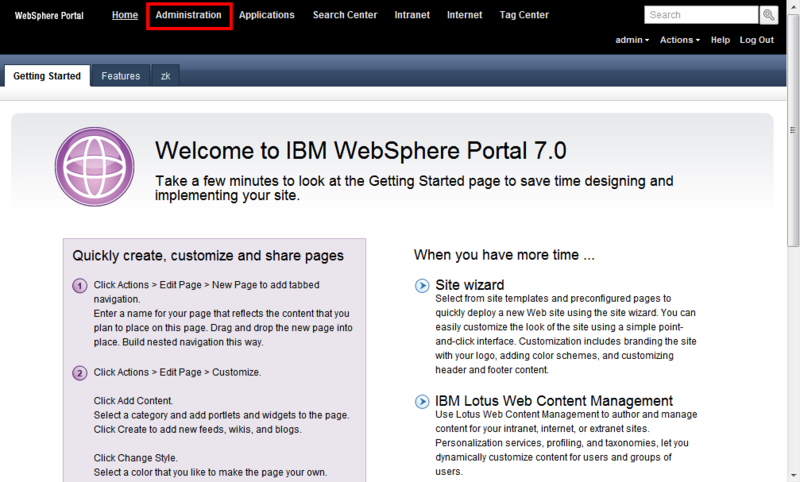
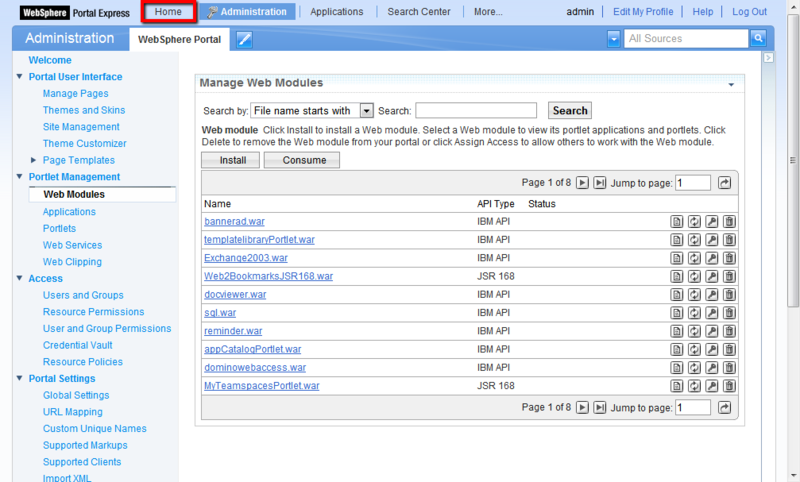
- Click Administration tab at the top of the page
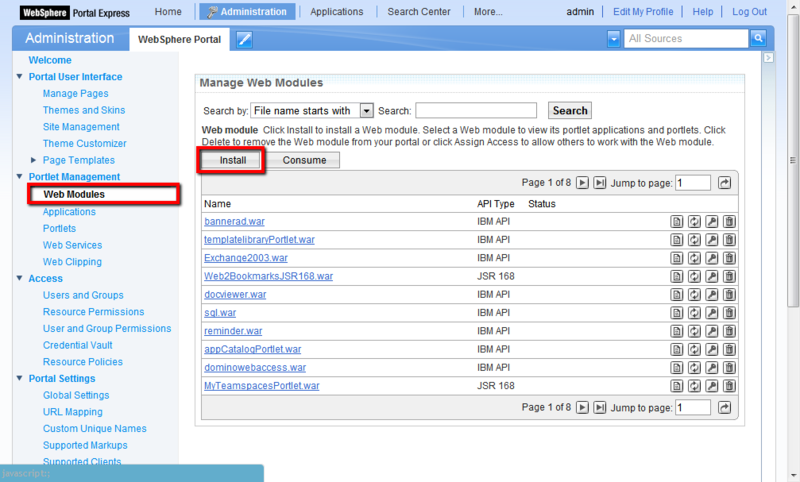
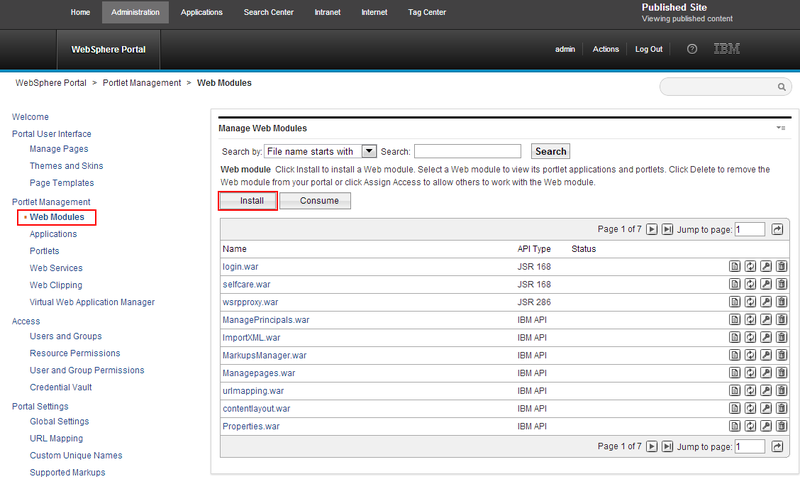
- Select Web Module then click the install button.
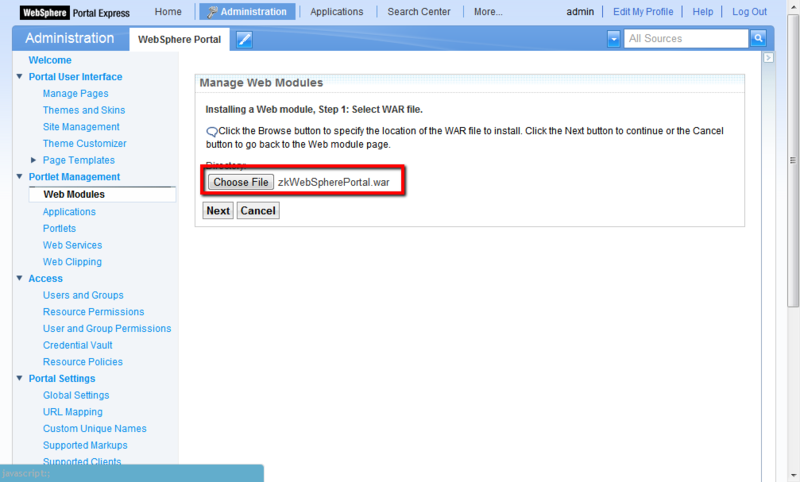
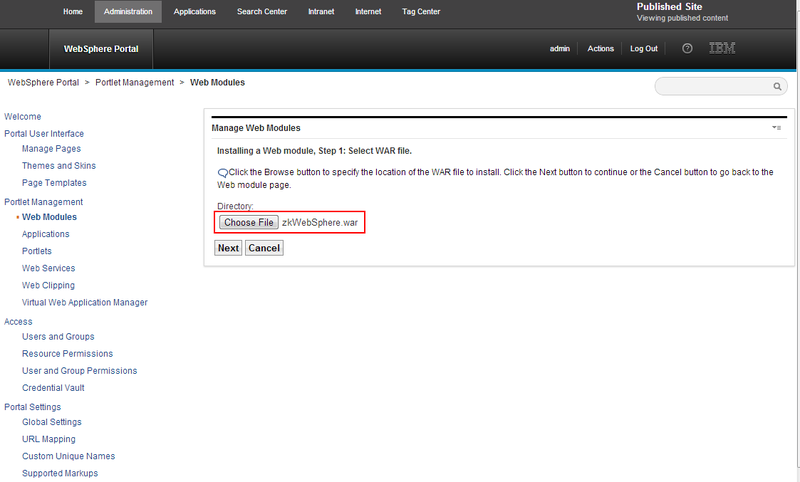
- Click Choose File button to select the war file then press the Next button.
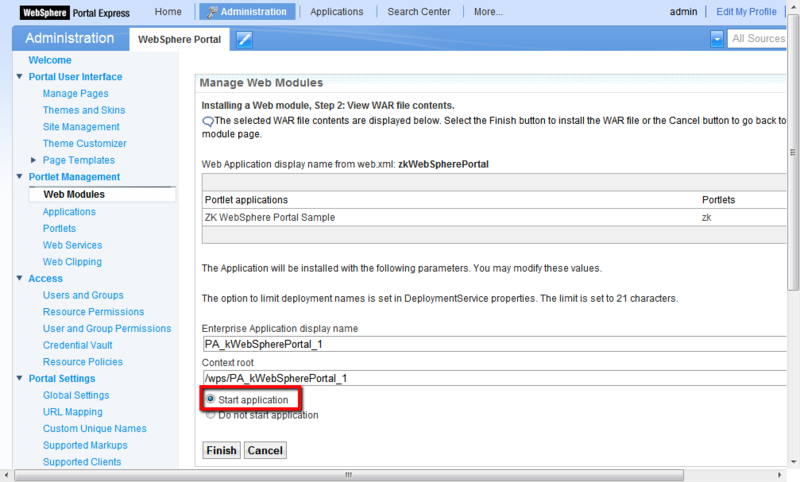
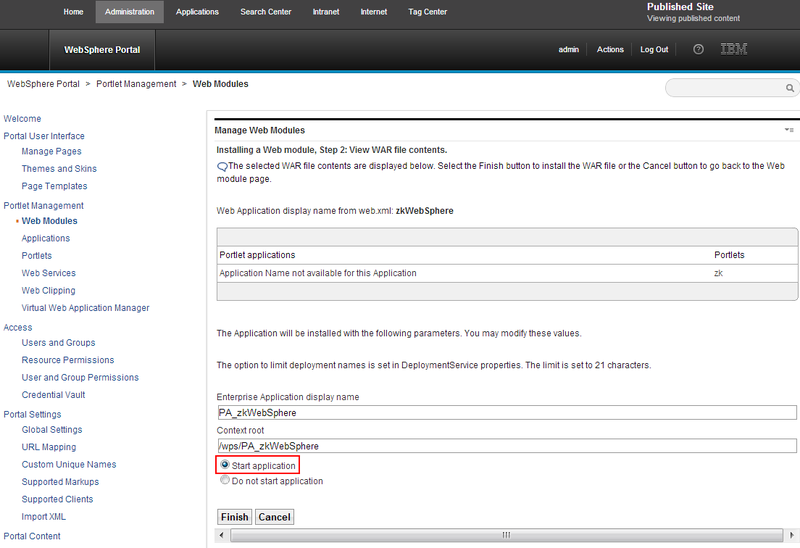
- Check the war information and choose Start application, then click the Finish button.
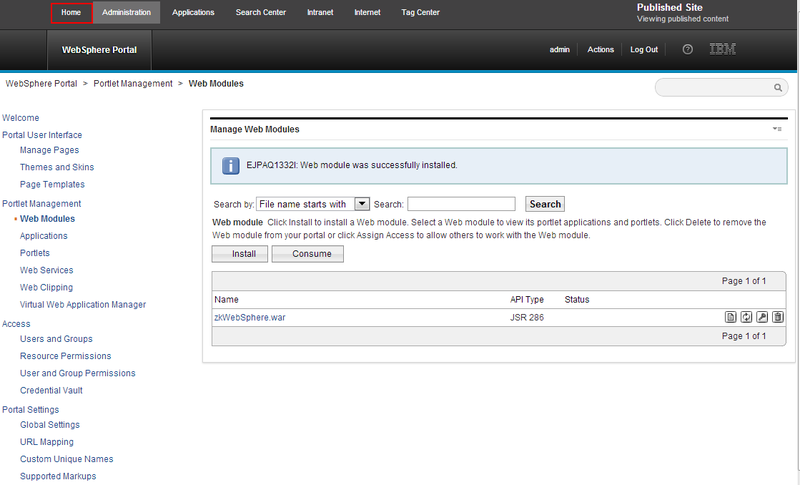
- Go back to Home page
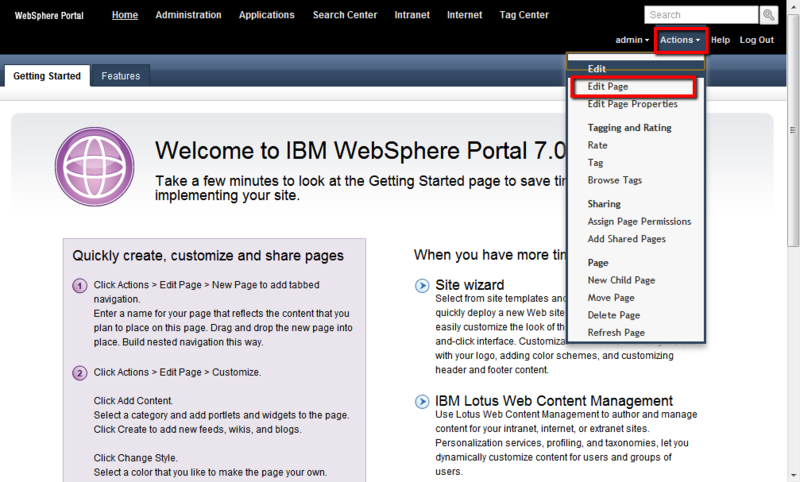
- Add a new tab page by clicking Action -> EditPage
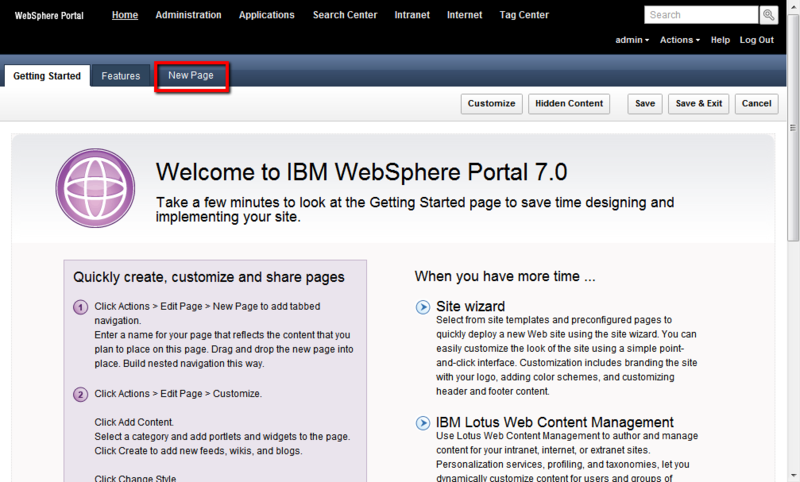
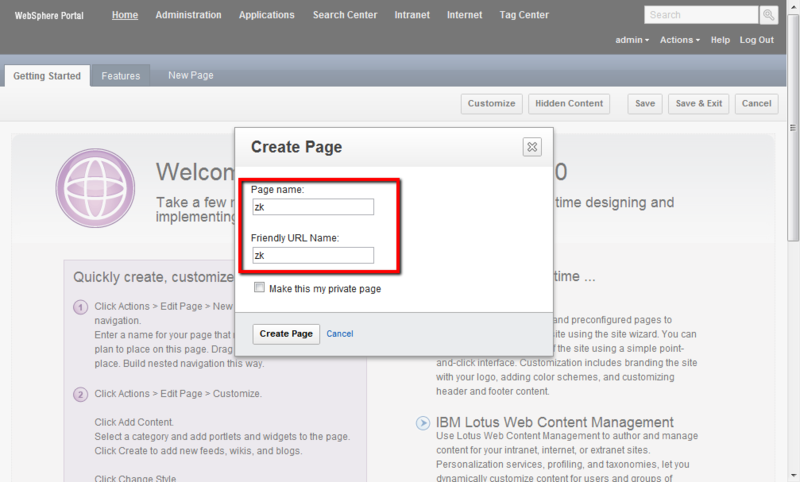
- Click New Page then enter "Page name" and "Friendly URL Name"
- Add the deployed portlet to the created new page by clicking Action -> EditPage.
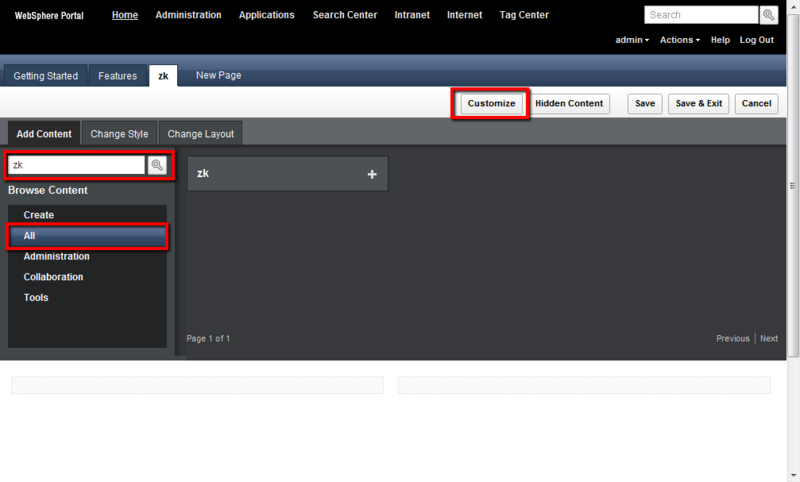
- Click Customize -> All -> in the search box, enter the portlet name defined in portlet.xml
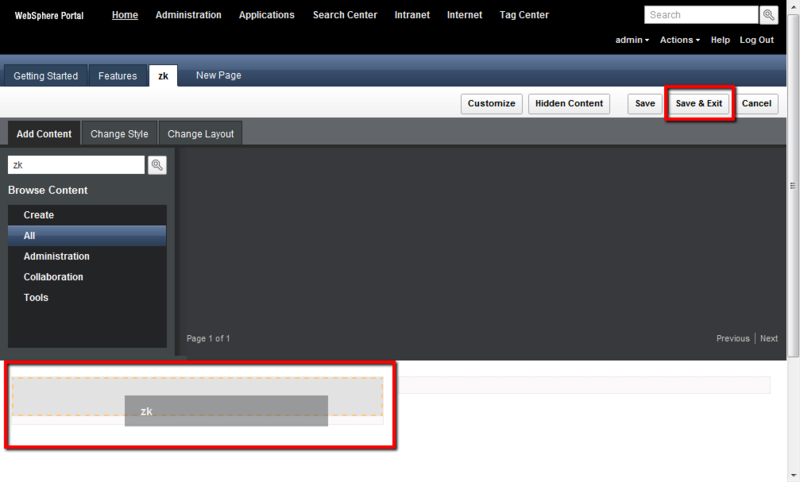
- Drag and drop the portlet into the created new page and click Save & Exit button.
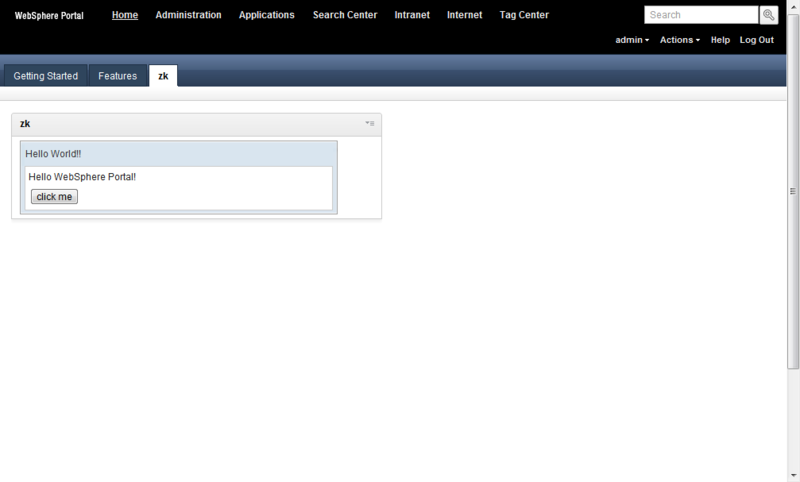
- ZK project is now deployed in a Websphere Portal
Deploy ZK portlet in WebSphere Portal 8
- Browse http://localhost:10039/wps/portal and login with admin account
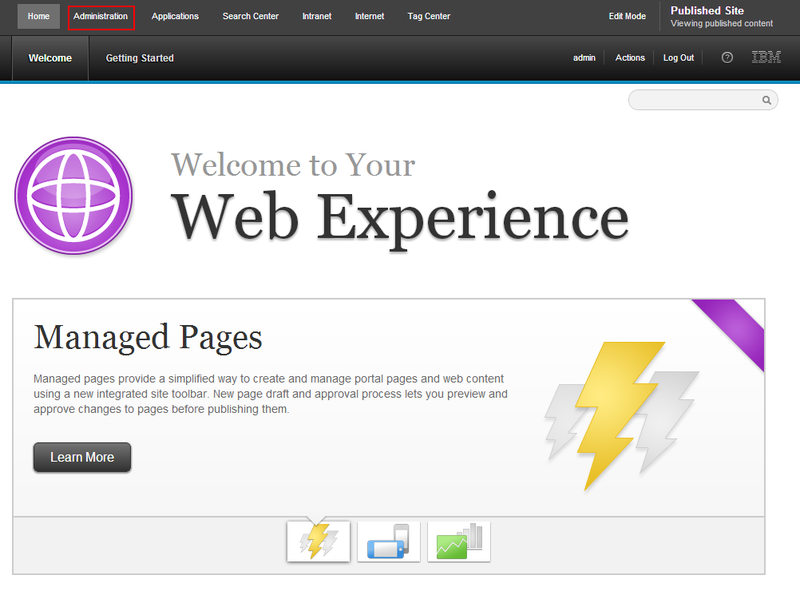
- Click Administration tab at the top of the page
- Select Web Module then click the install button.
- Click Choose File button to select the war file then press the Next button.
- Check the war information and choose Start application, then click the Finish button.
- Go back to Home page
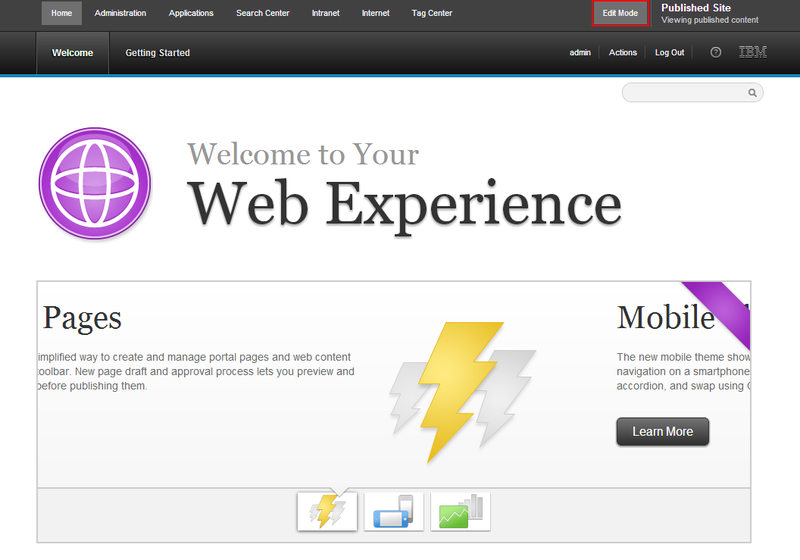
- Click Edit Mode
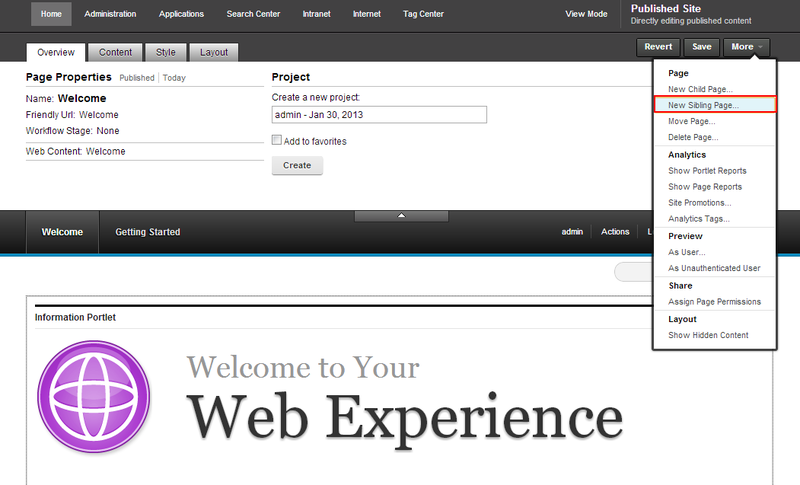
- Click New Sibling Page
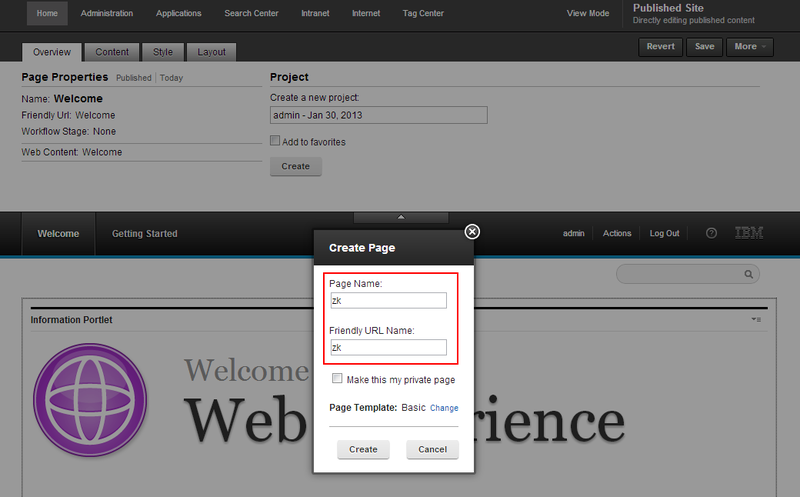
- Enter "Page name" and "Friendly URL Name"
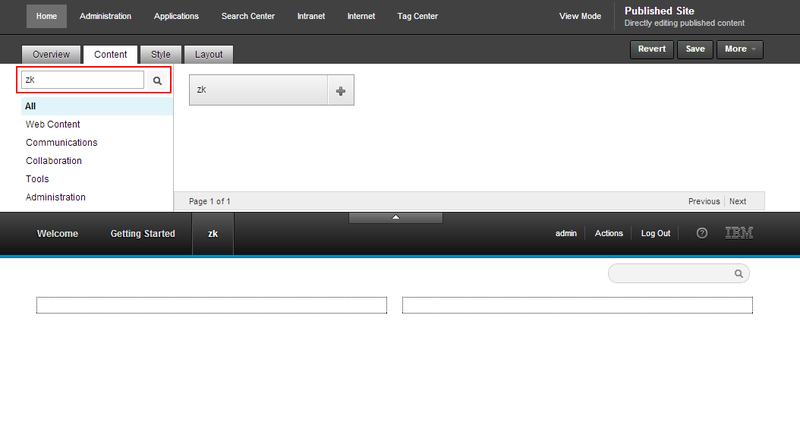
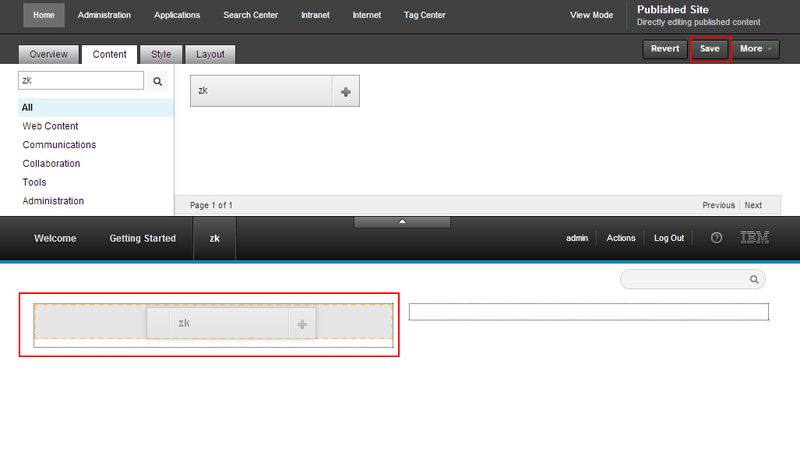
- Click Content -> All -> in the search box, enter the portlet name defined in portlet.xml
- Drag and drop the portlet into the created new page and click Save button.
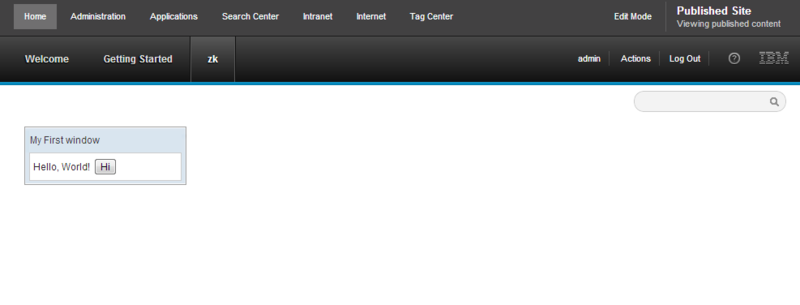
- ZK project is now deployed in a Websphere Portal
Version History
| Version | Date | Content |
|---|---|---|
